PDF Accessibility
Below you will find best practices when working with PDFs to ensure they are accessible. When possible, it is highly recommended to share permalinks to database articles or digital content instead of PDFs. Contact your department's library liaison for assistance.
Scanned PDFs
Why scanned PDFs are inaccessible
- Scanned PDFs are image files, so they are not readable by screen reader software. Therefore, students who are blind or have low vision and use screen readers cannot access the content. Some examples of screen reader software are NVDA, JAWS, Apple VoiceOver or ChromeVox. They read the content aloud to the user.
- With scanned PDFs, students cannot use digital tools such as highlighting, searching or copying and pasting.
- Poorly scanned PDFs are difficult to read because the text is often grainy or blurred or there are black margins. Most students have trouble reading the content and might get overwhelmed, frustrated or distracted.
How to fix a scanned PDF
Option 1: (Best option!) Locate the original file online or work with your department’s library liaison to locate an accessible version. If nothing is available, proceed to option 2.
Option 2: Use the PDF Document Accessibility Application to remediate the PDF. This option is not perfect and usually requires some manual remediation. For more information go to the PDF Document Accessibility Application page.
Option 3: Use UDOIT's Alternative Formats if you have access to Canvas.
- Select UDOIT from the left navigation menu in Canvas.
- Select the arrow button next to the file to request the format you'd like. You may need to request different versions and compare their quality.
- If there are still accessibility issues, you can decide if this option is best. Consider going back to option 1 and locating an accessible document or webpage with similar content. Consider using a slightly different document if it's accessible without converting or editing. This could save you a lot of time.
How to use Adobe Acrobat DC to scan/OCR your PDF
You can also use Adobe Acrobat DC to “Scan/OCR” and “Enhance” your document. The result will be similar to UDOIT’s OCRed alternative format and usually requires some remediation.
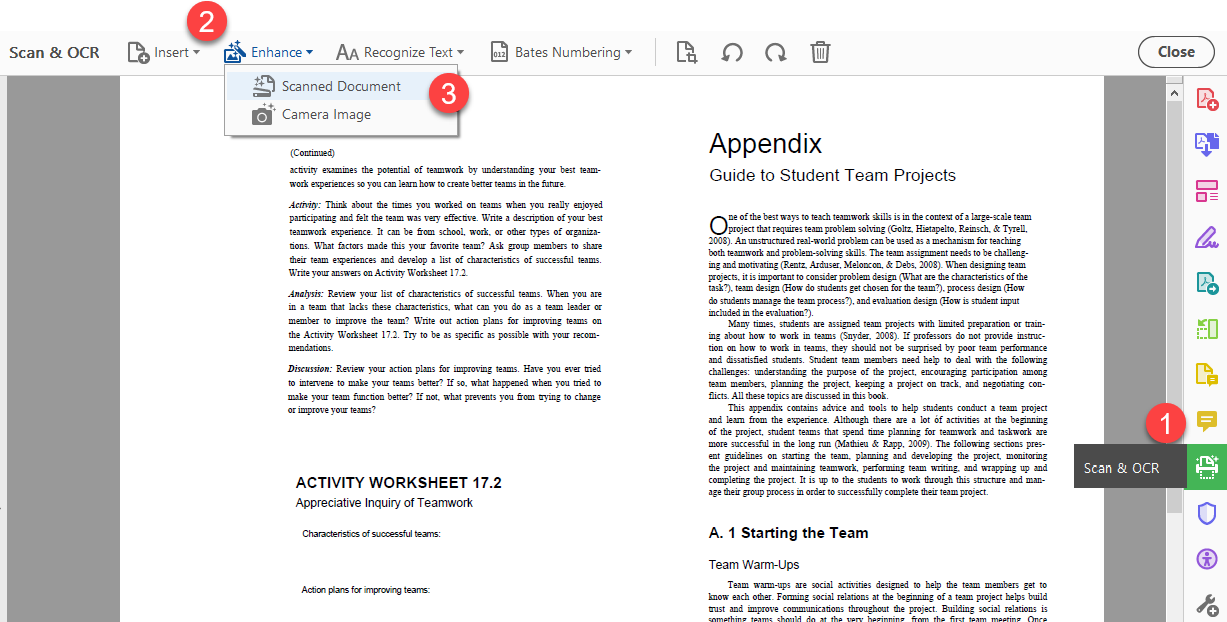
- Open Adobe Acrobat DC. Select "Scan & OCR" from the right hand menu. If it’s not there, select the more tools tab, locate "Scan & OCR" and select open.
- Select "Enhance" at the top middle of the screen.
- Select "Scanned Document".
- Select "Enhance".
- Upload the OCRed PDF into Canvas and check Ally's accessibility score. You may still need to edit the document for accessibility.
Untagged PDFs
Tags are essentially markers that provide structure to a PDF. Without tags, students using screen readers won’t be able to accurately navigate through the document because there will be no logical reading order.
How to fix an untagged PDF
One option is to use Microsoft Word to Tag the Document.
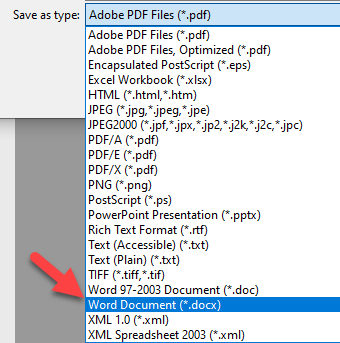
- Open the PDF and save it as a Word document.
- Use the Microsoft Word accessibility checker to review issues.
- Edit the Word document to fix all the issues (besides tagging). To tag the document see the next step.
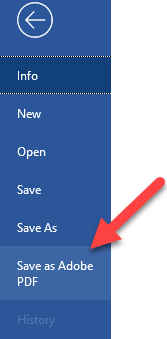
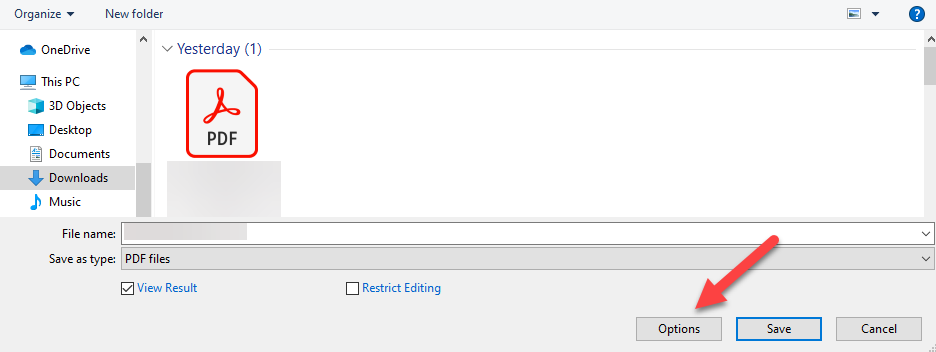
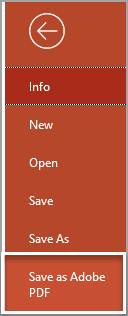
- Select “Save as Adobe PDF”.
- Select the Options button.
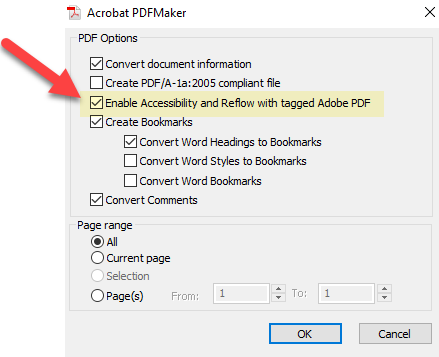
- Ensure the checkbox next to “Enable Accessibility and Reflow with tagged Adobe PDF”
is checked. Reflow refers to content adjustability on various screen sizes.
- Save the tagged PDF and upload it to your course to check its accessibility. There may still be issues you’ll have to correct. This method is only a first step.
Can I manually tag PDFs?
To successfully manually tag PDFs takes some training. There are two recommended tools.
- Equidox is a powerful PDF remediation tool designed to make digital documents accessible
to individuals with disabilities. It is user friendly and simplifies PDF remediation
such as tagging, alternative text, and logical reading order.
To gain access, email cfeti@sjsu.edu. - PDF Document Accessibility Application will auto tag your PDF. Be sure to check it for remaining issues and manually remediate them using Adobe Acrobat.
- To manually tag your PDF, Adobe Acrobat can be used, but is a bit more challenging and is best used by experts in Adobe Acrobat DC.
If interested, see LinkedIn Learning Creating Accessible PDFs Course. Note: You must be logged in to view this course.
Converting PowerPoints to PDFs
Step 1: Ensure the PowerPoint is accessible.
For more detail, go to Microsoft’s webpage on Accessible PowerPoints.
Color Contrast
Always use high contrast templates which use dark colored fonts on light backgrounds or vice versa.
Some high contrast templates are: Gallery, Retrospect, Savon and Dividend.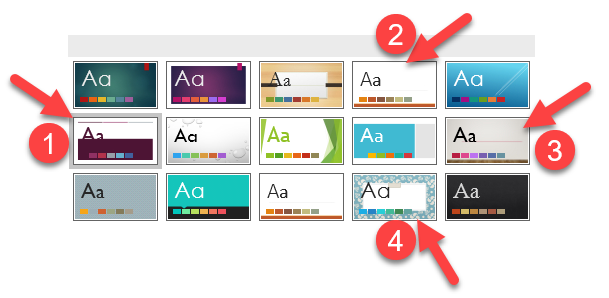 You can always check the color contrast using WebAIM’s color contrast checker.
Font Size
Use font size 24pt or above.
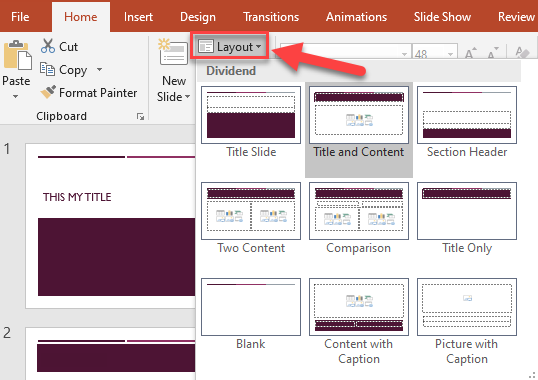
Slide Layouts
Use the built-in slide layouts, not text boxes. If you use textboxes, you’ll need to manually set your reading order which is quite time consuming.
For more details, see Microsoft’s webpage on reading order.
Unique Slide Titles
Use unique titles for each slide. For example, two slides about study skills could be named “Study Skills Part 1” and “Study Skills Part 2”.
Alternative Text (ALT Text) for Images
To set the ALT text, select the image and right click or select the “Format” tab in the top menu.
Then select “edit ALT text”.
Type a brief description of the image in the box. Imagine you are describing it to someone who is blind.

ALT Text for Complex Images
For complex images, write a caption explaining the content and mark the image as “decorative”. 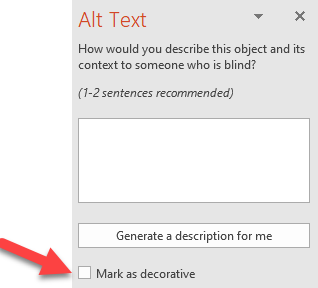
If the image is too complex for a caption, write "link to long description below" in the ALT text box. Then include a link to accessible web content, like an article or webpage, or a long description on the next slide or Google Document.
Hyperlinks
Descriptive hyperlinks provide key information for students; they can easily understand where the link takes them. This is essential for students using screen readers.
- Type the title of the webpage, article, or resource then highlight it and select the
link icon in the Insert tab.
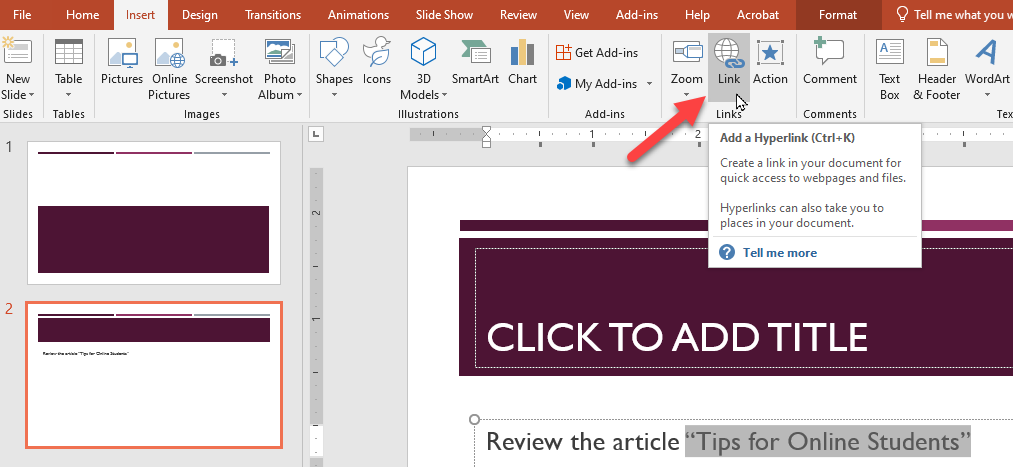
- Paste the link and click ok.
Please remember:
- Do not just paste the URL on your slides.
- Do not link the words “click here” or “here” as they are not descriptive enough.
Step 2: Run PowerPoint's Accessibility Checker
Run the PowerPoint accessibility checker
Select the “review” tab and select “check accessibility”.

Review the errors and warnings
Review the errors and warnings in the Accessibility Checker panel that automatically opens on the right.
Make any necessary modifications.
Step 3: Convert the PowerPoint to PDF and check its accessibility.
Use the "Save as Adobe PDF" button
- Select “File” and “Save as Adobe PDF”.
- Select “Options” and check the box next to “Enable accessibility and reflow with Adobe
tagged PDF”. It should be enabled by default, but it’s useful to check.
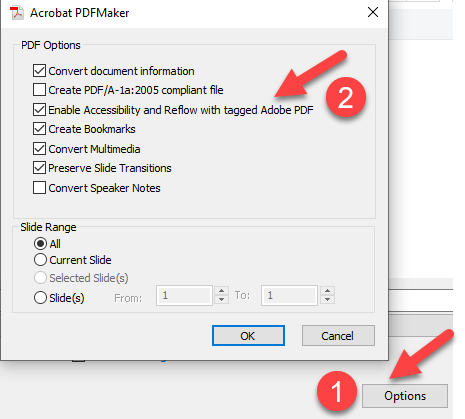
- Then select “Save”.
Run the PDF accessibility checker
To ensure the conversion was successful:
- Open the PDF in Adobe Acrobat DC.
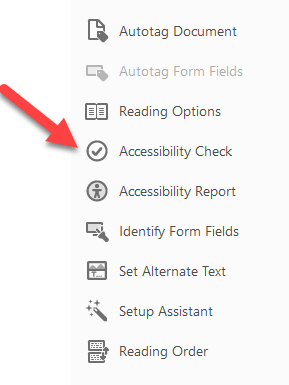
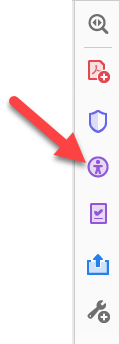
- Select the accessibility checker which is represented by a purple person icon in a
purple circle. If you don’t see it in your toolbar, select the tool icon, locate
it, and add it to your tools.
- Select “accessibility check” in the side panel.
- View the results and make any modifications as needed.